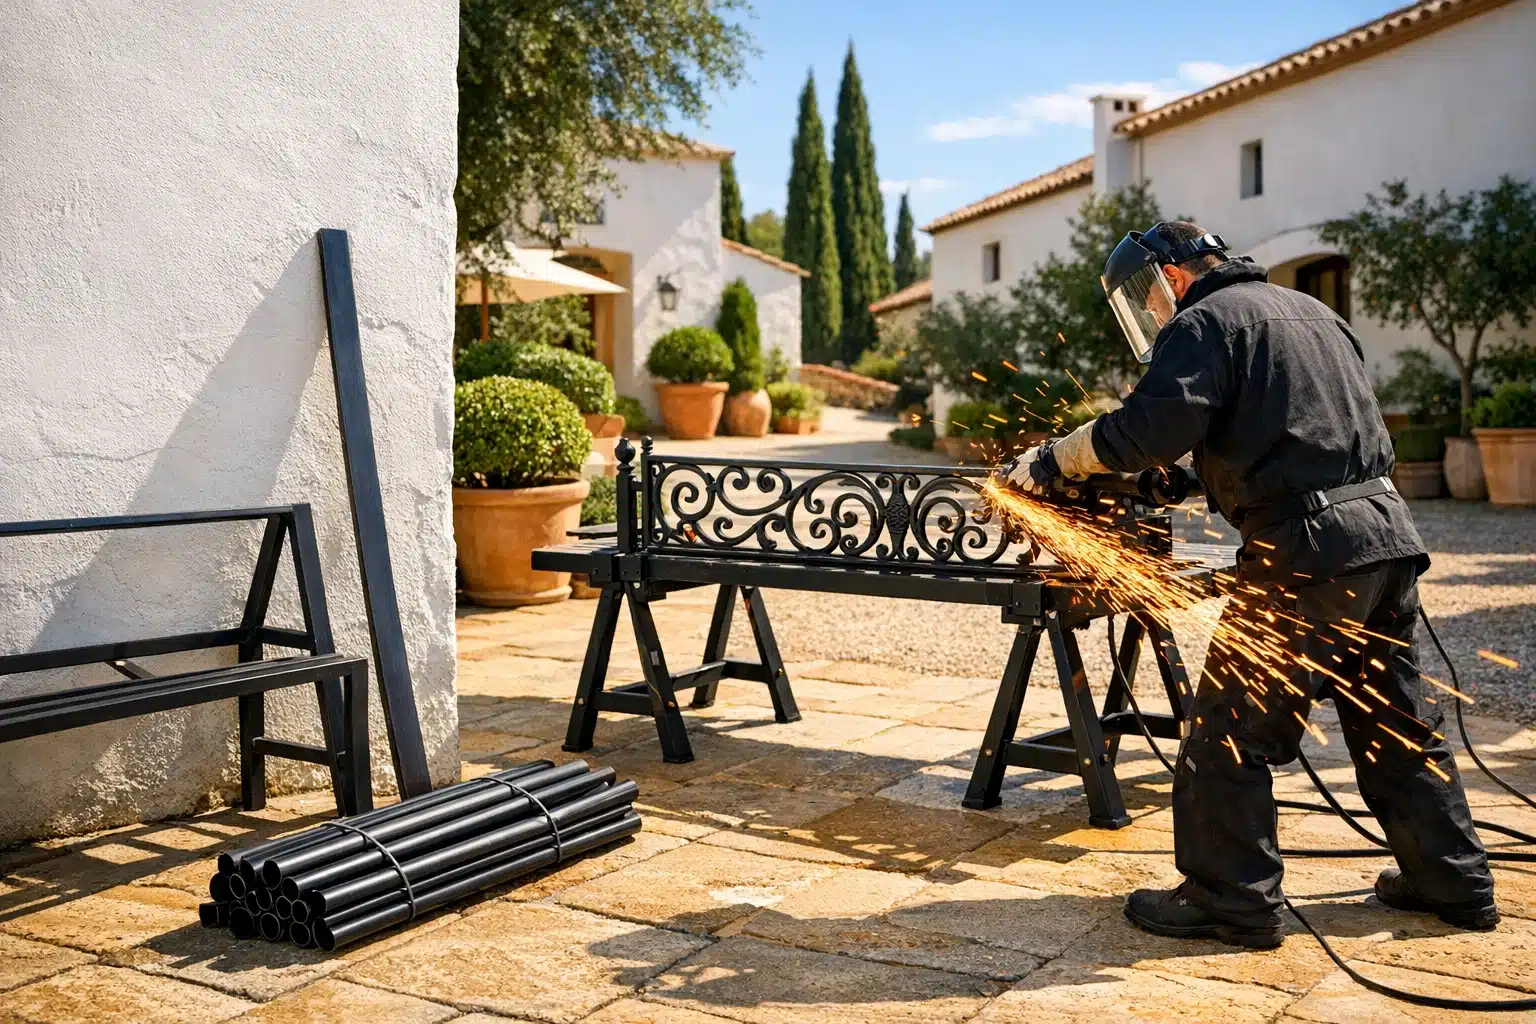
 Artificially generated image
 How to Cut Steel with an Angle Grinder Safely and Efficiently
Cutting steel with an angle grinder looks simple from a distance, yet the gap between a neat, controlled cut and a noisy shower of wasted sparks is wider than most beginners expect. For DIY renovators, mechanics, welders, and home workshop users, the tool offers speed, mobility, and versatility that few other cutters can match. The catch is that good results depend on planning, wheel choice, stable support, and calm hands. Learn those pieces, and steel stops feeling intimidating and starts acting like a material you can guide with confidence.
Article Outline
1. Understanding the angle grinder and planning the cut before the wheel touches steel.
2. Setting up a safer workspace with the right protective equipment and spark management.
3. Choosing the correct cutting disc, grinder size, and operating setup for the material.
4. Using clean, efficient cutting techniques on sheet steel, bar, plate, rebar, and tubing.
5. Avoiding common mistakes, finishing the edge properly, and knowing when another tool may be a better fit.
Understanding the Angle Grinder and Planning the Cut
An angle grinder is one of the most adaptable metalworking tools in a garage or small shop. With the right wheel attached, it can cut, grind, deburr, clean welds, and prepare surfaces for painting or fabrication. That flexibility is exactly why it gets used so often on steel. A 4.5-inch or 5-inch grinder is common for home and light trade work because it balances control and power, while larger 7-inch and 9-inch models remove material faster but demand more strength and attention. Many corded grinders spin in the 10,000 to 12,000 RPM range, which is why matching the disc rating to the machine matters so much.
Before you cut anything, identify the kind of steel in front of you. Mild steel, stainless steel, thin sheet, solid bar, rebar, and box tubing do not behave the same way. Thin sheet can vibrate and wander if unsupported. Thick plate builds heat and may require several steady passes. Hollow tubing often cuts quickly on one wall, then surprises the user when the wheel drops into the open space and meets the far side at a new angle. That small shift is where crooked cuts and pinched wheels often begin.
Planning also means thinking beyond the line itself. Ask a few simple questions first:
- Is the workpiece clamped firmly enough to resist movement?
- Will the offcut fall safely without trapping the wheel?
- Is the cut line visible from your body position?
- Do you have enough wheel diameter to finish the cut without twisting the grinder?
Mark the line clearly with a paint marker, scribe, or soapstone, then decide where the waste side will be. A thin cut-off wheel still removes material, so ignoring the kerf can leave a bracket short or a plate out of square. Skilled fabricators often begin with a shallow scoring pass, almost like drawing with sparks, because it creates a track the wheel can follow on the deeper passes. That extra minute of setup often saves ten minutes of cleanup. In metalwork, the cut starts long before the motor does, and the people who remember that usually get straighter results with fewer ruined discs.
Safety First: Protective Gear, Workspace Control, and Spark Awareness
If there is one part of angle grinder use that should never be treated casually, it is safety. Cutting steel creates a concentrated stream of abrasive dust, metal particles, noise, vibration, and sparks hot enough to ignite nearby materials. The grinder itself stores kinetic energy at high speed, so when a wheel binds or shatters, the event happens fast. Good technique matters, but good preparation is what gives you a margin for error when something unexpected occurs.
Start with personal protective equipment. Safety glasses are useful, but they are not enough on their own for angle grinder work. A full face shield adds another layer against fragments and ricocheting sparks. Hearing protection is a smart baseline because grinders frequently operate well above comfortable noise levels, especially in enclosed spaces. Gloves help with grip and heat, though they should still allow precise control. Sturdy clothing made from non-melting fibers is preferable to synthetic fabrics that can react badly to sparks. If you are cutting painted, rusty, or galvanized steel, ventilation becomes critical, and an appropriate respirator may also be necessary depending on the dust and coating involved.
The workspace deserves just as much attention as the operator. Keep the area dry, stable, and free from clutter. Sparks can travel farther than many people expect, sometimes several meters, and they do not politely stay in one direction if they hit an edge and bounce. Remove sawdust, cardboard, solvents, fuel containers, oily rags, and anything else flammable before starting. If you are working indoors, think about where the sparks will land, not just where they begin.
A practical safety checklist usually includes the following:
- Inspect the guard and make sure it is installed correctly.
- Check the wheel for cracks, chips, moisture damage, or expired condition.
- Confirm the disc RPM rating meets or exceeds the grinder speed.
- Clamp the steel securely so both hands can stay on the tool.
- Stand slightly out of the wheel’s direct line where possible.
Kickback is the danger many new users underestimate. It happens when the wheel catches, binds, or gets twisted in the cut, causing the grinder to jump. The safest response is prevention: steady pressure, straight alignment, proper support, and no side loading on a cut-off disc. Think of the grinder as a machine that rewards discipline. If you respect the sparks, the noise, and the energy in the wheel, the job becomes far more predictable and far less dramatic.
Choosing the Right Disc, Grinder Size, and Setup for Steel
A surprising number of cutting problems come down to using the wrong wheel. The grinder may be powerful and the operator may be careful, but if the accessory does not match the task, results suffer immediately. For cutting steel, the standard choice is a bonded abrasive cut-off wheel, not a thick grinding disc. The difference matters. A cut-off wheel is designed to slice through metal with its edge, while a grinding disc is meant to remove material with its face. Using a grinding disc to cut is inefficient, rough, and potentially unsafe.
Disc thickness changes the feel of the job. Thin cut-off wheels, often around 1.0 mm to 1.6 mm, remove less material, cut faster, and usually generate less heat. They are popular for sheet steel, tubing, and general fabrication because they feel quick and clean. Thicker wheels can be more durable in heavy work or less-than-perfect conditions, but they generally cut slower and ask more from the grinder. For stainless steel, many users choose wheels labeled for INOX or stainless use because they are made to reduce contamination from iron, sulfur, or chlorine residues that can contribute to corrosion issues.
Grinder size also shapes the result. Smaller grinders are easier to maneuver and ideal for confined spaces or precise work. Larger grinders offer more depth of cut and can tackle thicker stock, but they are heavier and more tiring during long sessions. Battery-powered grinders have become much better in recent years, yet runtime and sustained power still depend on battery size and the material being cut. A cordless tool may be perfect for quick site work, while a corded model usually feels more consistent for repeated cuts through dense steel.
When selecting and setting up the tool, keep these points in mind:
- Match wheel diameter to the grinder specification exactly.
- Never exceed the maximum RPM printed on the disc.
- Use the guard position that shields you while preserving a clear view.
- Tighten the flange correctly without over-stressing the wheel.
- Run a newly mounted disc briefly in a safe direction before cutting.
There is also a quality difference between bargain wheels and reputable ones. Cheap discs may seem economical, but if they wear down too quickly, cut crookedly, or break under normal use, they are not saving anything. A good wheel feels almost conversational: it tracks straight, sheds sparks consistently, and asks for guidance rather than force. When the disc, grinder, and steel are properly matched, cutting starts to feel less like a fight and more like a controlled process.
Step-by-Step Technique for Cutting Steel Cleanly and Efficiently
Once the tool is fitted correctly and the workpiece is secured, the actual cutting technique becomes the deciding factor between a clean edge and a ragged one. The first rule is simple: let the wheel do the cutting. Angle grinders are fast machines, and abrasive discs work best when they are allowed to maintain speed. Forcing the wheel into the metal does not usually make the cut faster. More often, it increases heat, accelerates wheel wear, and raises the chance of binding.
Begin with a stable stance and a clear view of the line. Hold the grinder firmly with both hands, then bring the wheel into contact with the steel at a controlled angle. Many users start with a shallow scoring pass along the mark. This groove helps the disc stay on track, especially on painted steel, mill scale, or smooth material where the wheel might otherwise skate. After that, deepen the cut with steady, even motion. Think of the sparks as feedback. A smooth fan of sparks usually suggests a consistent cut, while erratic bursts can signal chatter, twisting, or uneven pressure.
Different shapes of steel call for slightly different strategies:
- Sheet steel benefits from full support close to the cut line to reduce vibration.
- Angle iron and flat bar are often easiest when cut through one face at a time in a controlled sequence.
- Pipe and round tubing are cleaner when rotated, allowing the wheel to follow the circumference rather than plunge blindly through both walls.
- Thick plate may require multiple passes instead of one aggressive push.
- Rebar cuts quickly, but it should still be clamped securely because its round profile encourages rolling.
Heat control is another overlooked part of efficiency. If the metal begins to discolor excessively or the cut starts to widen from wheel wear, pause and reassess. On stainless steel in particular, lingering in one area can leave heavy heat tint and a rougher finish. On thin material, too much pressure may warp the workpiece before the cut is complete. The cleaner approach is measured progress, not brute force.
Never twist a cut-off wheel to finish the last bit of metal. That is a common cause of breakage. Instead, reposition the tool or the work so the disc stays aligned with the kerf. A well-executed cut feels almost rhythmic: score, deepen, track, finish. Sparks arc away, the line opens neatly, and the steel yields without complaint. That is the moment when the tool stops sounding angry and starts sounding precise.
Common Mistakes, Finishing the Edge, and Final Takeaways for DIY Users
Even experienced users make mistakes with angle grinders, usually not because the tool is mysterious, but because it is familiar enough to invite shortcuts. One of the most common errors is applying too much pressure. People often assume sparks equal progress, so they lean harder into the cut. In reality, excessive force can slow the wheel, overheat the metal, enlarge the burr, and wear the disc faster. Another mistake is poor support. If the offcut is allowed to sag, the kerf can close on the wheel and create the exact kind of pinch that leads to kickback.
Other avoidable problems show up again and again in home shops:
- Using a damaged, damp, or incorrect disc.
- Removing or mispositioning the guard for convenience.
- Trying to cut with the side of a cut-off wheel.
- Failing to clamp small workpieces securely.
- Ignoring fumes from coatings such as paint, zinc, or heavy rust treatment.
After the cut, do not treat the edge as finished just because the steel is separated. Most cuts leave some burr, sharpness, or slight inconsistency that should be addressed before assembly or handling. A flap disc is often a good next step for smoothing the edge, breaking corners, and refining the appearance without removing too much material too quickly. A grinding disc may be useful for heavier cleanup, while a file works well for touch-up on smaller pieces. If the part must fit precisely, check squareness and length with a rule or combination square before moving on. Many fabrication headaches begin with a cut that was “close enough” until the next part had to match it.
It is also worth knowing when an angle grinder is not the best tool. For repeated identical cuts in tubing, a metal chop saw or band saw may be faster and more consistent. For thick plate in production work, other cutting methods can offer cleaner edges and less fatigue. The angle grinder shines because it is versatile, portable, and ready for odd jobs, repair work, and one-off fabrication. It is the tool you reach for when flexibility matters.
For the target audience, whether that means a careful DIYer, a farm repair owner, a fabricator setting up a small workspace, or a mechanic tackling bracket work, the main lesson is straightforward. Safe and efficient steel cutting is not about bravado. It is about choosing the right disc, controlling the setup, reading the material, and respecting the machine. Do that well, and the grinder becomes less of a spark-throwing brute and more of a precise partner in the shop.